Creating engaging sermon thumbnails has never been easier with Sermon Shots! This step-by-step guide will walk you through the process of uploading your video, selecting the perfect shot, customizing your design, and downloading a professional-quality thumbnail. Whether you're a beginner or an experienced user, follow these simple steps to enhance your sermon visuals effortlessly. Let's get started!
You can watch the step-by-step tutorial on our Sermon Shots YouTube channel here:
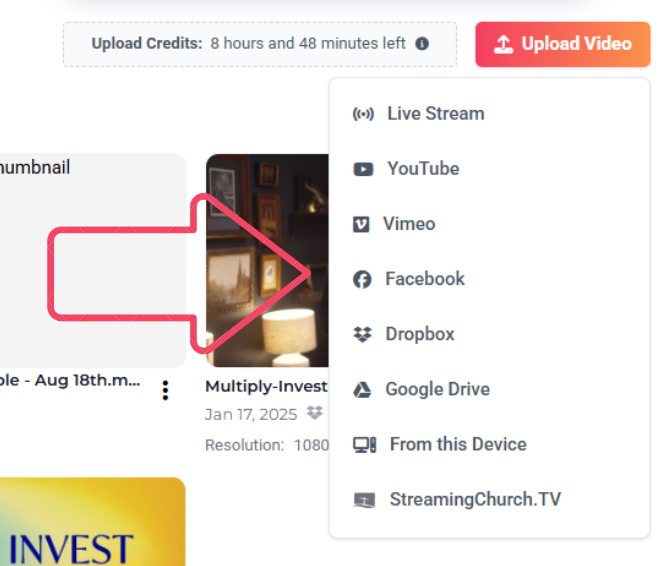
Step 1: Upload Your Video
- Start by uploading a video.
- Choose one of the eight options for importing content into Sermon Shots. (YouTube Link, LiveStream, Vimeo, Facebook, Dropbox, Google Drive, StreamingChurch.TV or from your computer).
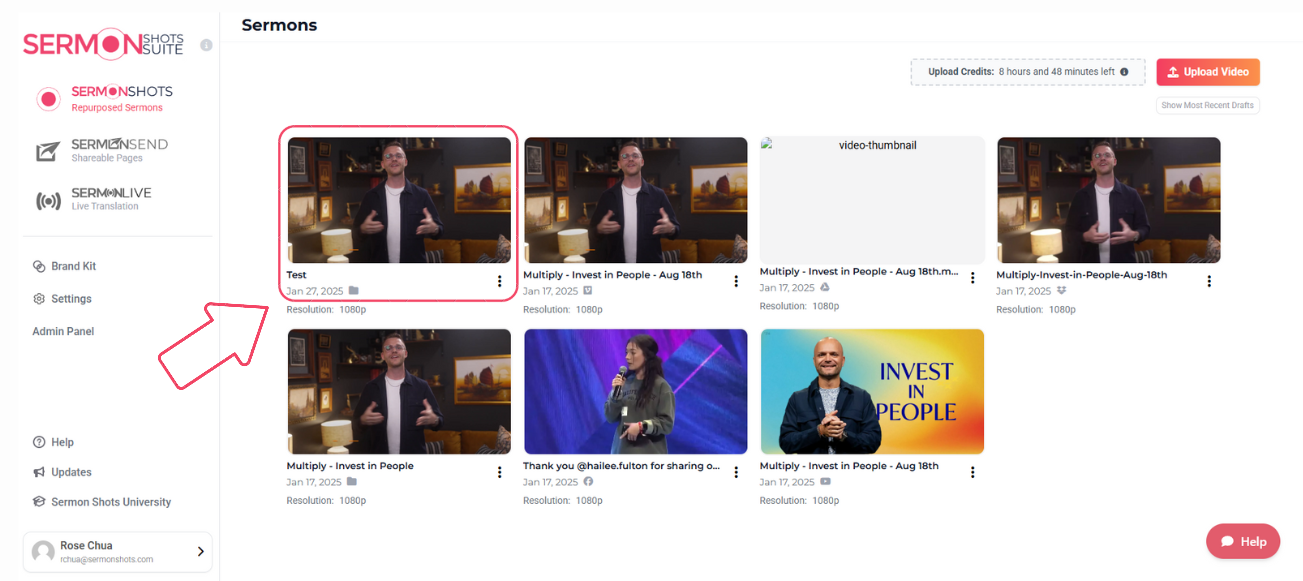
Step 2: Select your Sermon
- Once your video is loaded, click on the specific message you want to work with.
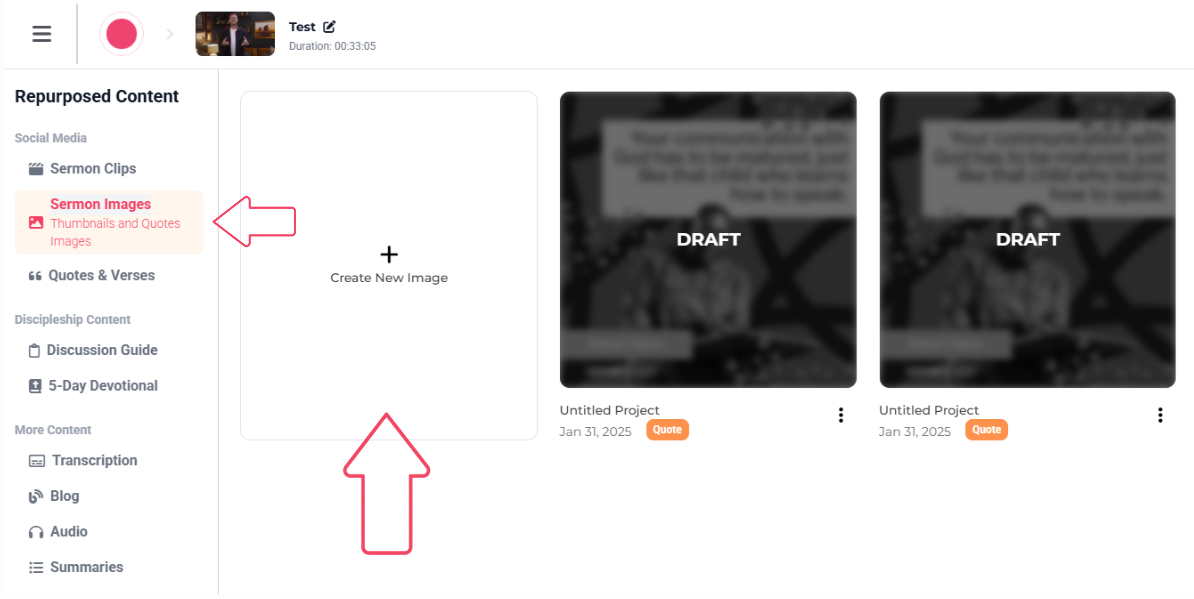
Step 3: Access the Sermon Images Tool
- Look for the Sermon Images Tool.
- Click on the plus (+) icon to create a new image.
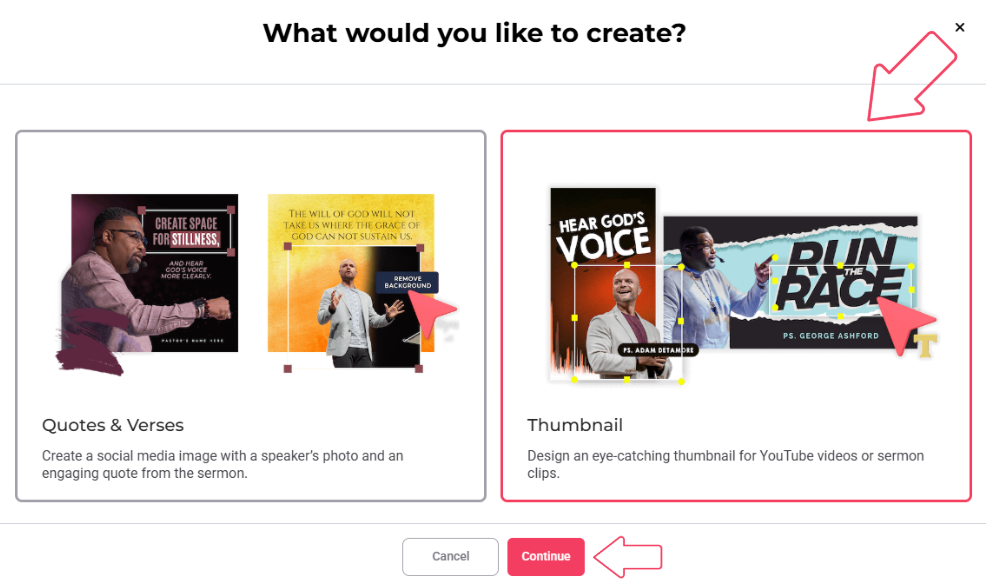
Step 4: Choose Thumbnail
- Select Thumbnail and click Continue.
Step 5: Select your Template
- Browse the template library. Choose from our Horizontal and Vertical templates.
- Choose a design you like.
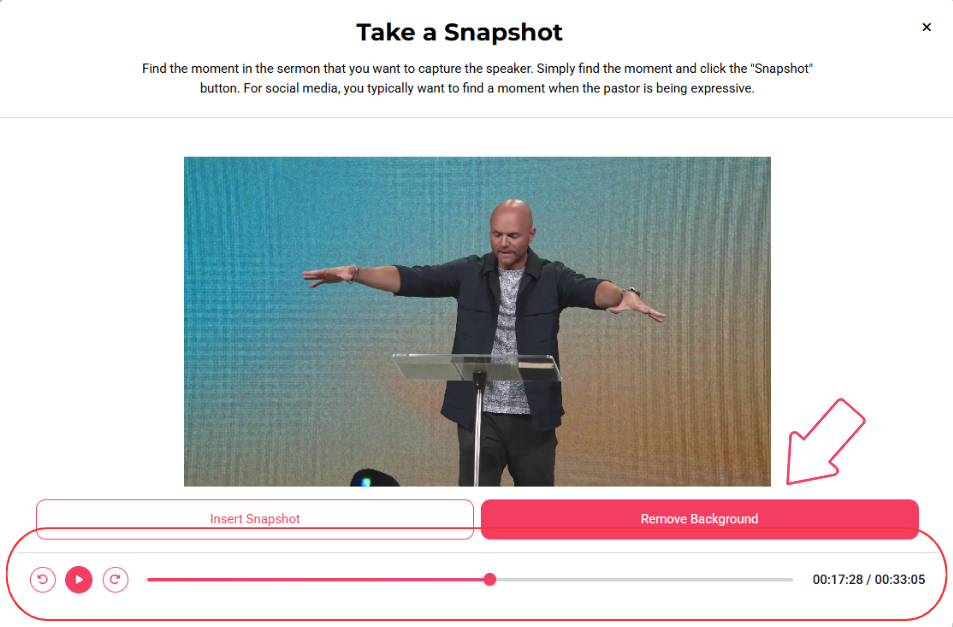
Step 6: Find Your Shot
- Use the video slider to find the desired shot of the speaker.
- Click Remove Background to eliminate any visual noise.
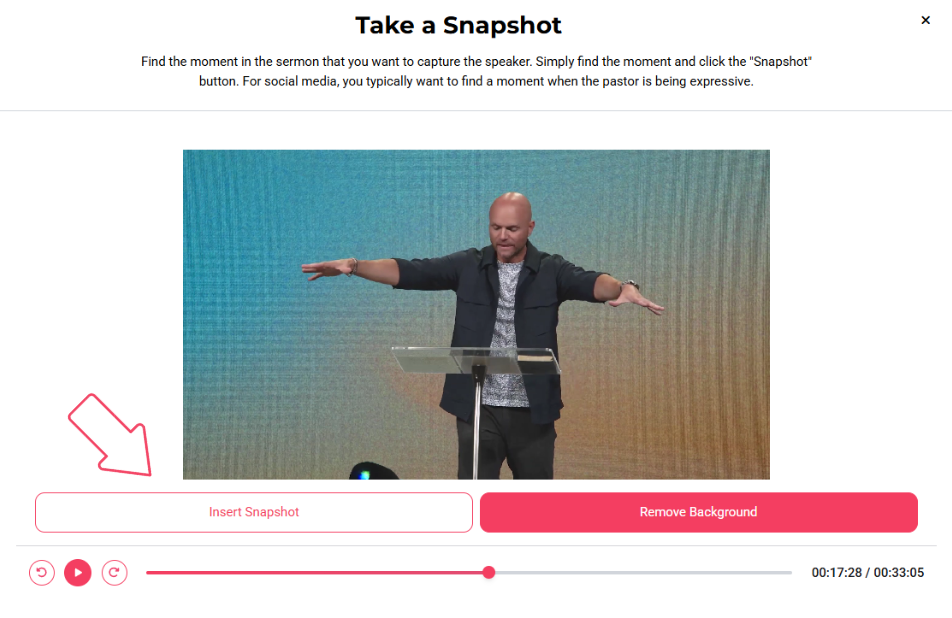
Step 7: Wait for Processing
- Wait about 35-40 seconds for the background removal to complete.
Step 8: Insert Snapshot
- Once processed, insert the snapshot into your design.
Step 9: Customize Your Design
- Use drag and drop to arrange elements.
- Swap titles, customize fonts, colors, and sizes.
- Upload any additional images if needed.
- For Mac users, use the function+delete to delete an element if needed.
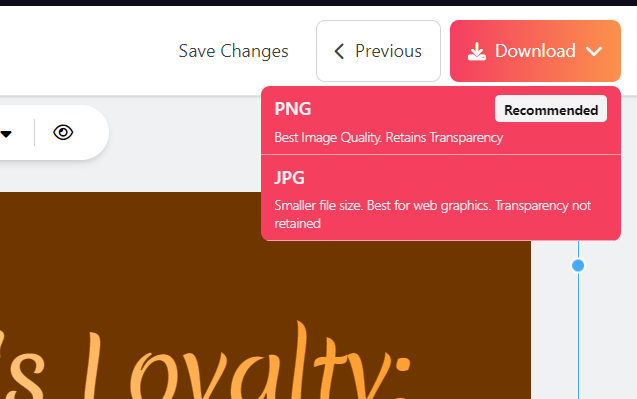
Step 10: Finalize and Download
- Review your design.
- Click Download and choose between PNG or JPEG formats.
Hope this streamlines your process!