Understanding Font Types
In Sermon Shots, there are two main font categories:
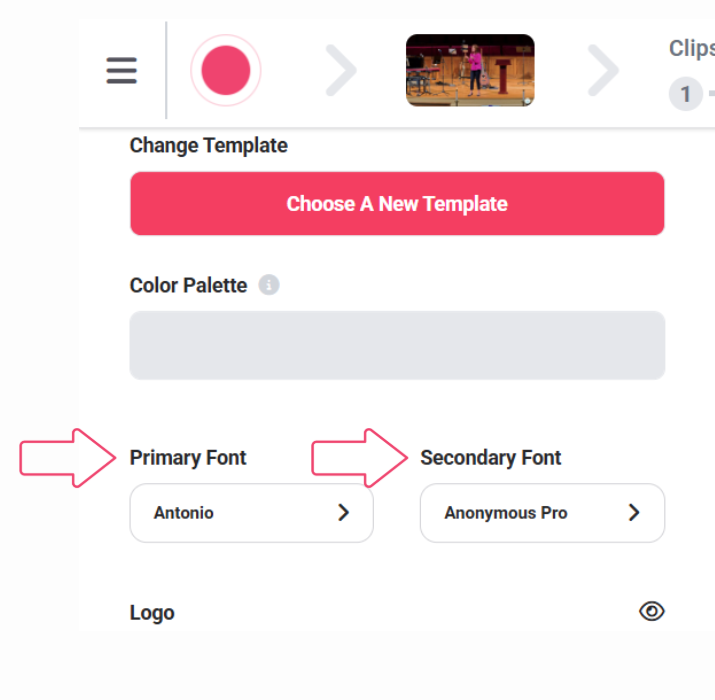
- Primary Font: Used for your captions (the transcribed sermon text)
- Secondary Font: Used for additional elements like sermon titles, website information, service times, and other text overlays
Step-by-Step Guide to Changing Fonts
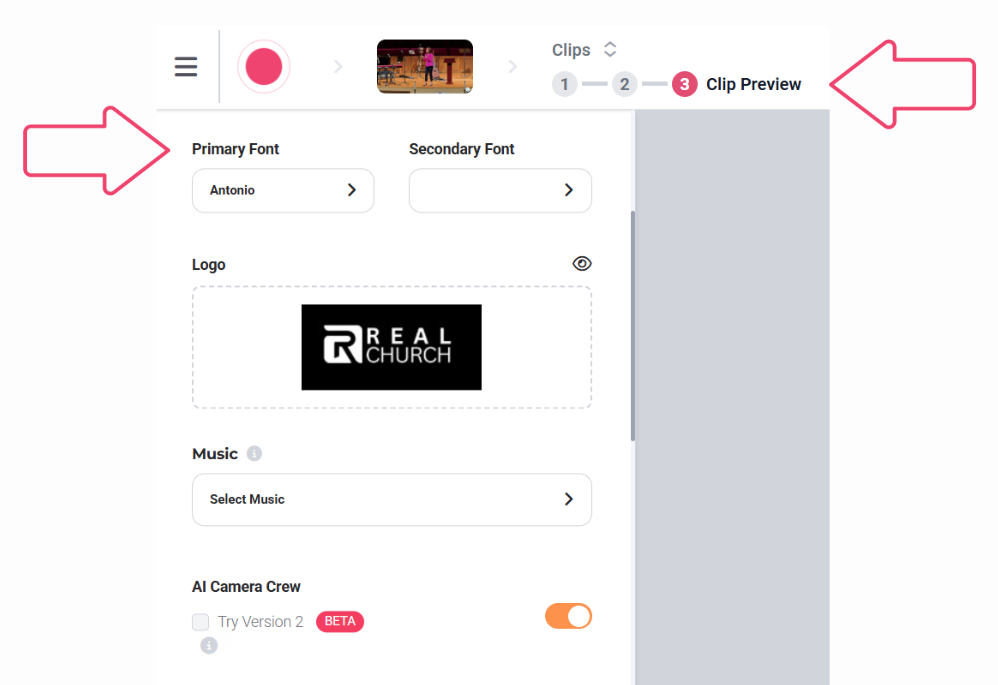
- Open your Sermon Shots account and navigate to the clip editor (Step 3 of the clip creation process)
- Locate the font selection tool in the editing panel
3. To change your Primary Font (captions):
-
- Click on the caption you want to edit
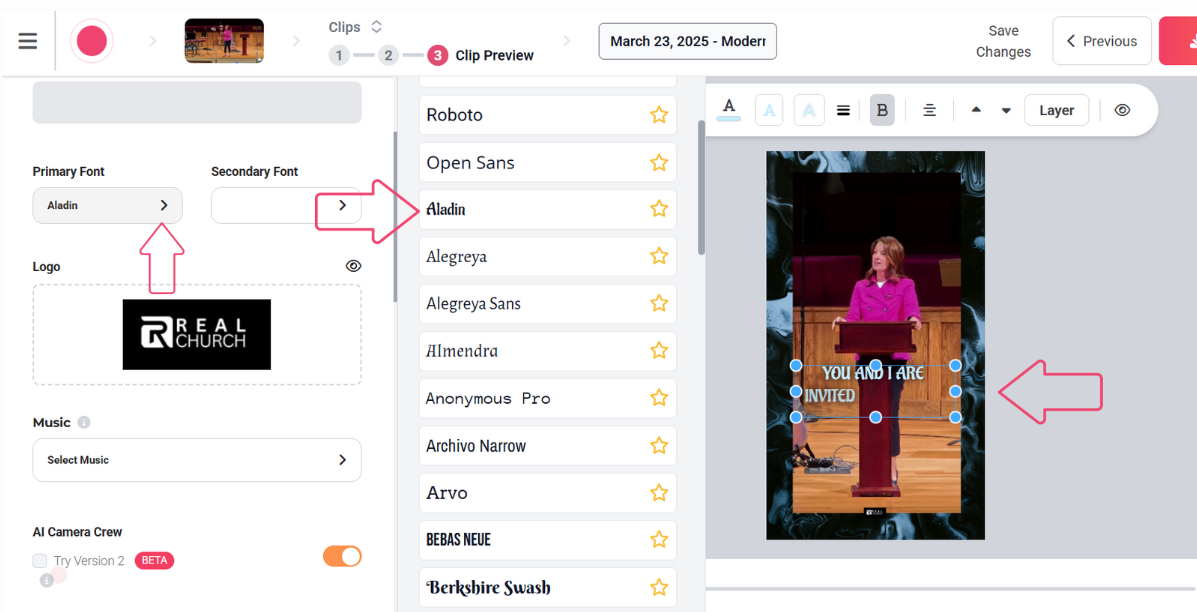
- On the font selection tool, click the arrow for the Primary Font
- Browse through the available fonts
- Select your desired font for the sermon captions
- Your changes will be applied immediately to the preview
4. To change your Secondary Font (titles and other text):
-
-
- Use the same font selection tool
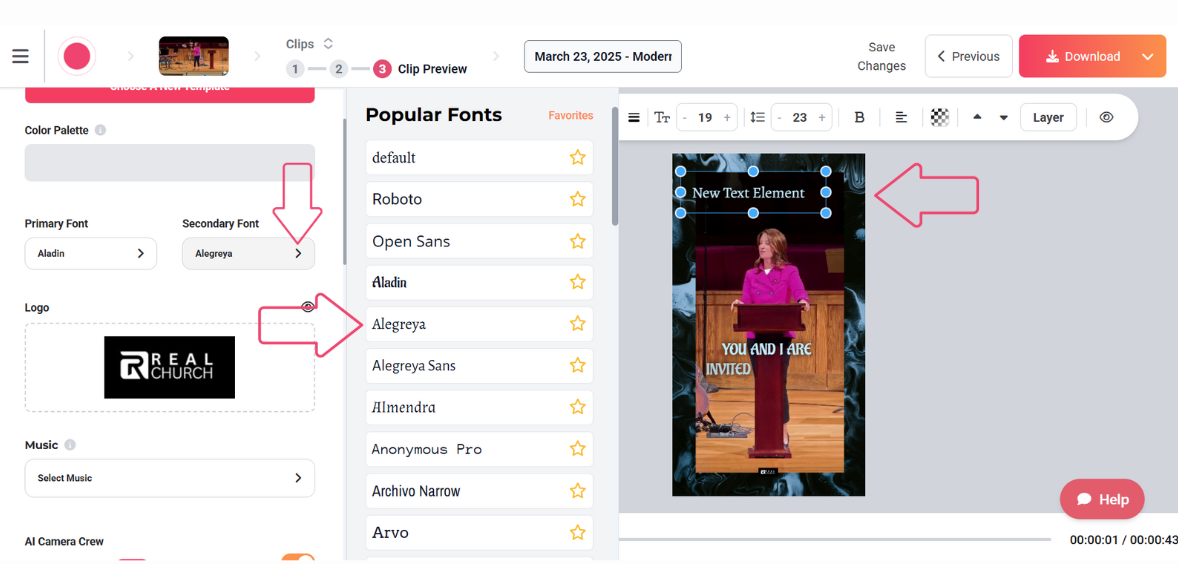
- Click on the text element you want to edit
- Click the arrow for the Secondary Font option
- Choose your preferred font
- All secondary text elements will update with your selection
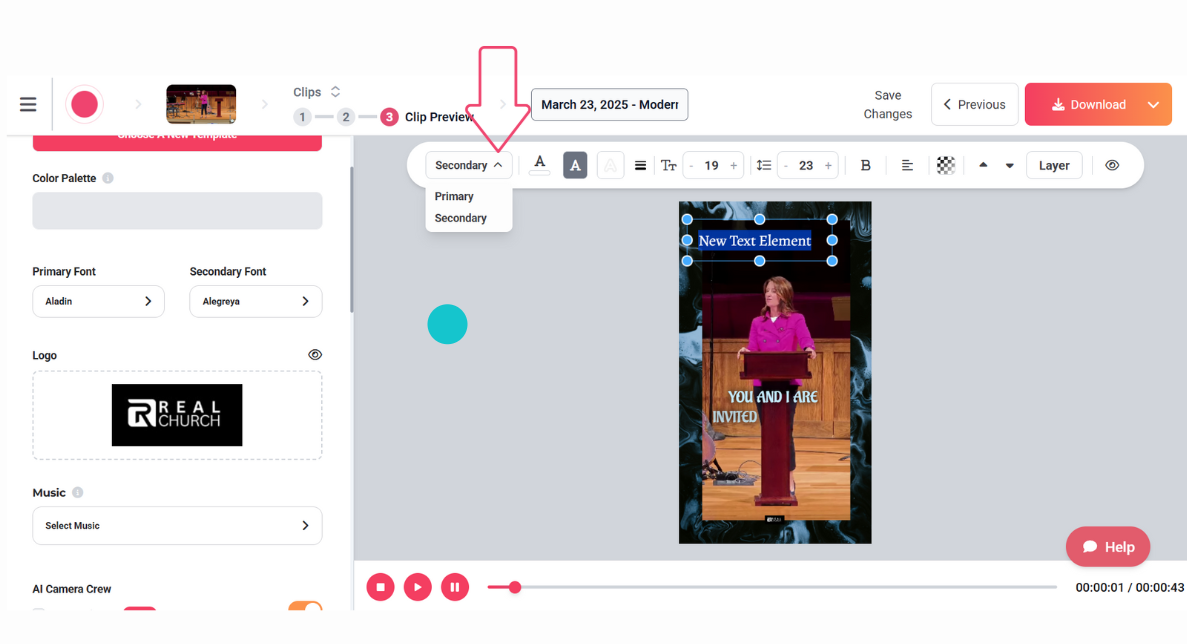
5. You can also switch between primary and secondary fonts for specific text elements:
-
- Select the text element you want to modify
- Use the toggle option to switch between primary and secondary font styles
Font Availability
Sermon Shots includes:
- A wide selection of pre-loaded fonts
- Most Microsoft and Google fonts are already available in the system
- Custom font upload capability for your unique brand fonts
Using and Uploading Custom Fonts
How to Upload Custom Fonts
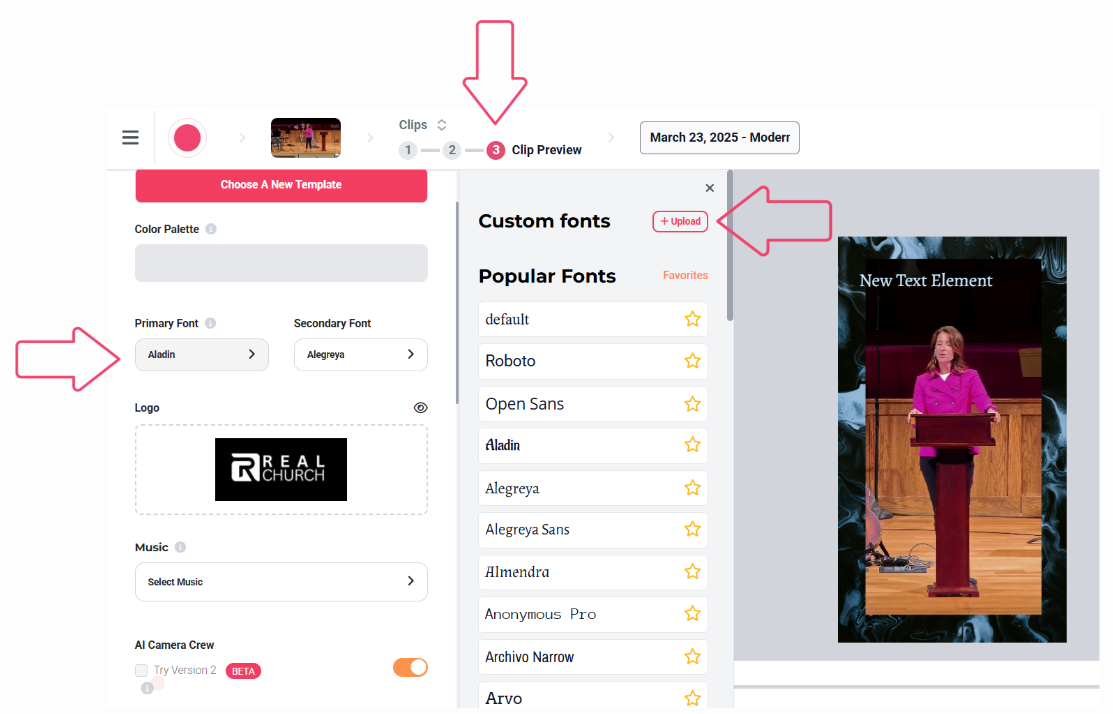
You can upload custom fonts directly in Step 3 of the clip editor.
Uploading Custom Fonts in the Clip Editor:
- Navigate to Step 3 of the clip creation process
- Click on the font selection tool
- Look for the "Upload Font" option
- Select your font file from your computer
- Your uploaded font will be immediately available for use in your current project
Favorite Fonts
Sermon Shots allows you to save your most-used fonts as favorites for quick access:
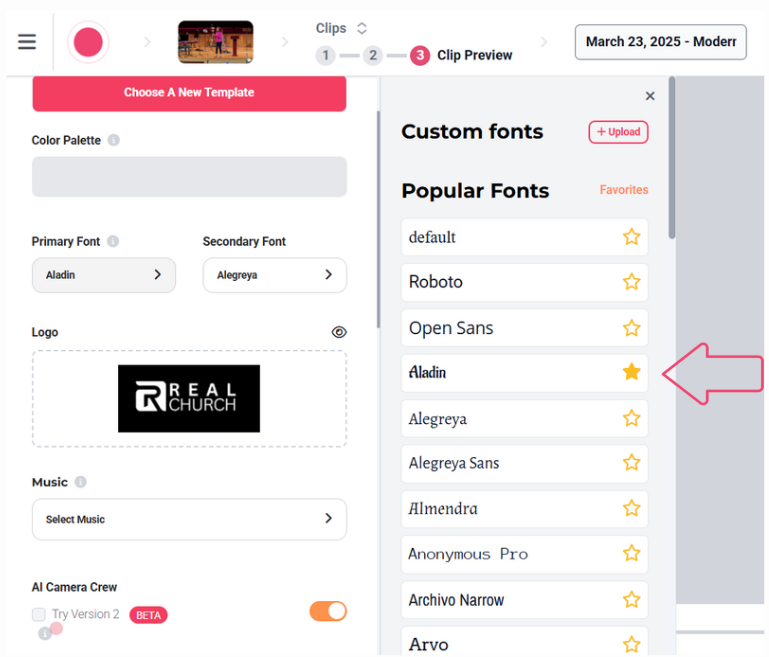
- Marking Fonts as Favorites
- When browsing fonts in the font selection tool, look for the star icon next to each font
- Click the star to mark a font as a favorite
- Your favorite fonts will be collected in a special section at the top of the font menu
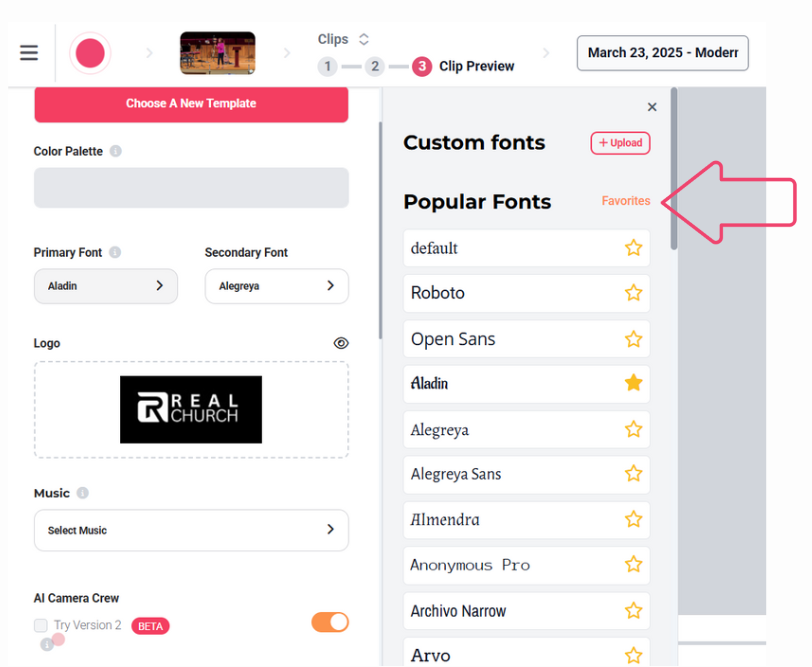
2. Accessing Favorite Fonts
-
- Open the font selection tool
- Look for the "Favorites" section at the top of the menu
- All your starred fonts will appear here for quick selection
3. Managing Favorites
-
-
- To remove a font from favorites, simply click the star icon again
- You can add or remove fonts from your favorites at any time
Using the favorites feature can save you time if you regularly use the same set of fonts across different projects.
By properly utilizing fonts in Sermon Shots, you can create professional, branded content that maintains visual consistency across all your church's communications.
Font Configuration in Brand Kit
Font Headers in the Brand Kit: When you select a font, the headers default back into what they are but display the font styles selected. For example, if you selected AvenirNextLTPro-Bold.otf for all three Typography options (Heading, Subheading, and Body), the interface will show:
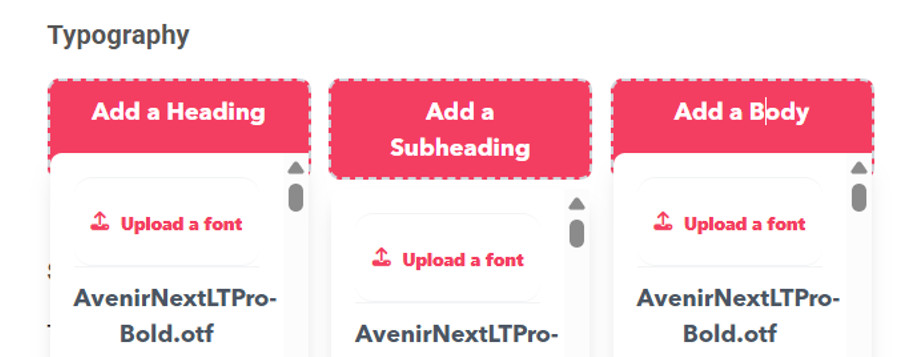
As shown above, each typography section (Add a Heading, Add a Subheading, Add a Body) displays the selected font name, making it easy to see which fonts are configured for each text style.
Important Note About Fonts
At the moment uploading fonts from the Brand Kit does not make them available in Step 3. We are currently working on an update for this. In the meantime, please upload your custom fonts in Step 3 and it will be available to any video you upload moving forward.
Need Help?
For additional questions or troubleshooting, please refer to the detailed support articles above or visit your live stream service's help center.
If you encounter any issues or have questions about uploading via live stream, the support team is available to assist you. Contact support at support@sermonshots.com.